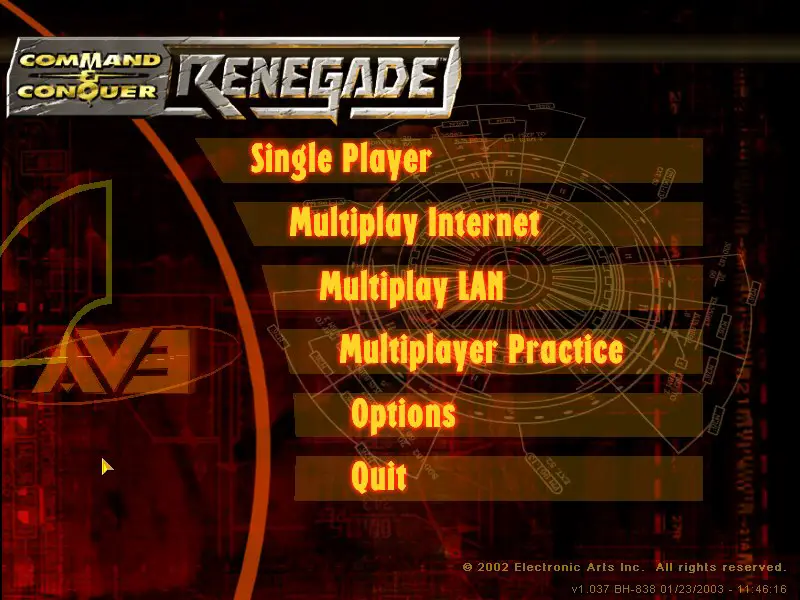
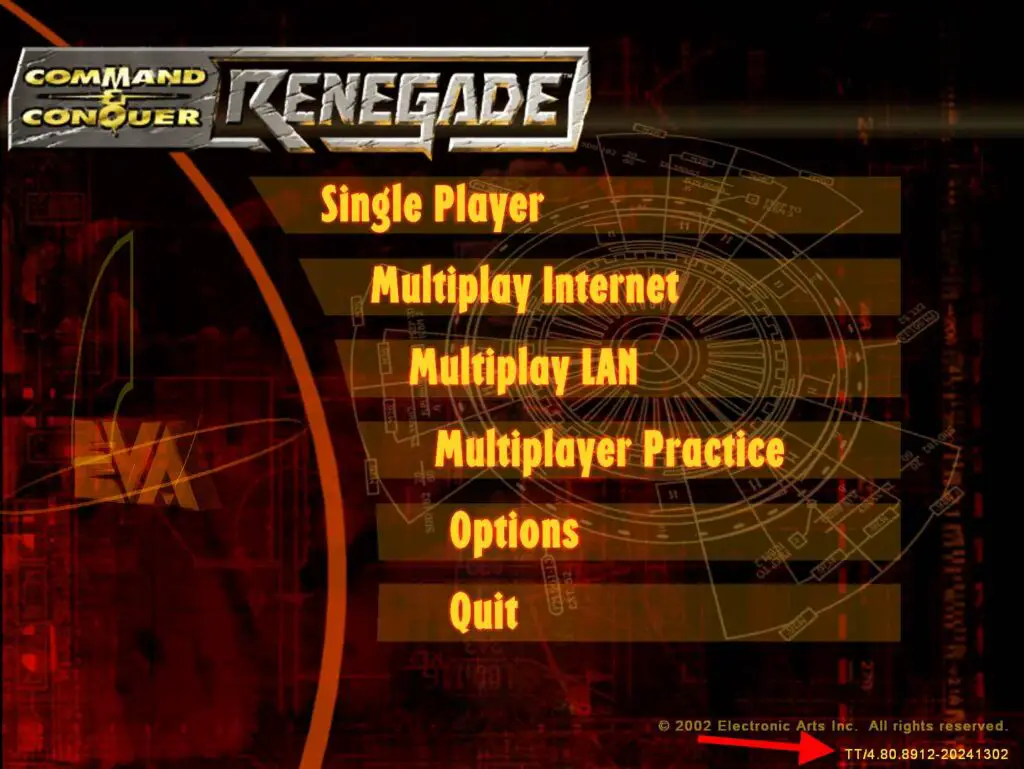
When starting the game for the first time, you’re going to be presented with the main menu screen.
The code at the bottom right shows the latest OFFICIAL version of the game which is version 1.037, This needs to be updated by installing the Tiberian Technologies fan patch.
Also see → Command & Conquer Renegade Multiplayer Guide
Features of this patch include, but are not limited to:
- Bug fixes, including the infamous ‘Bluehell’ bug (if you know, you know!)
- Additional graphics options, including MSAA antialiasing and VSync (additionally the game is now limited to 200FPS if you want to avoid game-breaking physics glitches at high FPS, but also avoid screen tearing caused by VSync)
- Access to 4K resolution (including an option to double the HUD size to avoid the HUD from becoming unreadable)
- Borderless Windowed mode
- Additional Console commands
- A (once again) functioning in game server listing for Multiplayer
- An in game auto downloader for automatically downloading modded content when joining servers.
… And much more!
Basically, updating the game from this point is not a STRICT requirement. But it is highly recommended to both smoothen and enhance the single-player portion of the game, and gain access to the multiplayer section of the game in the first place (many multiplayer servers will deny you access if you do not install this patch).
Either way, I hope you enjoy the game in whatever state you decide to play it!
Downloading and Installing the Tiberian Technologies Fanpatch
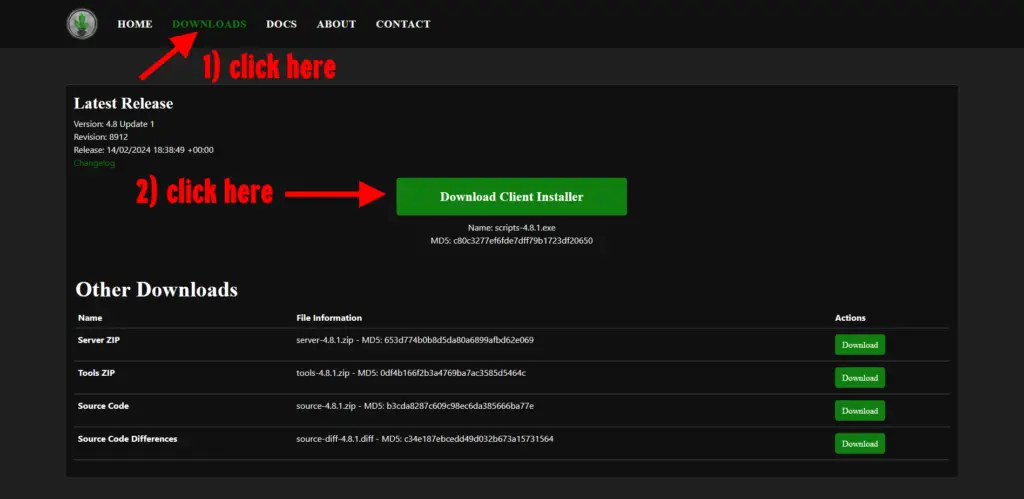
To download the Tiberian Technologies fan patch, here is the verified patch source.
Then, proceed to 1) click on the Downloads Tab at the top of the screen, and then 2) downloading the Client Installer.
The downloaded file does not need to be placed in the installation folder.
To install the game, open the installer, and click next twice (after agreeing to the terms and conditions). The installer should automatically find the installation folder for you, but if it does not, it should in most cases be either:
- C:…\Steam\steamapps\common\Command & Conquer Renegade
OR, if you have changed the drive to install Steam games,
- Not-Drive-C:…\SteamLibrary\steamapps\ common\Command & Conquer Renegade
Clicking next twice again brings you to a menu of options, where you can choose to add the game to the start menu shortcuts, add a desktop shortcut and launch the game after the update is installed. Choose any of your liking and/or just click on the installation button.
Installation should not take long — it should at some point open a command prompt window for a few seconds, let it run, and after this window closes the installation should complete momentarily.
IF after completing the installation, the installer may ask you to enter a valid serial key…
Despite the explainer the installer gives you, consider this a relic of the past, as (virtually) no servers block you entry without a serial key nowadays, nor does — outside of multiplayer — the game verify your serial key anyhow.
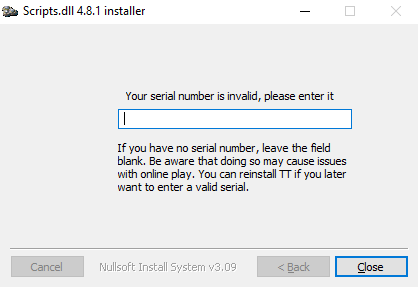
You can simply keep the window empty, enter a bunch of zeroes (a serial key is either 20 or 22 digits long), or enter the serial key on the sticker on the backside of the paper sleeve your original CD was kept in! Or, just feel free to press the close button!
After installing the fan patch — Things to note
The first time you launch the game, the game will launch at 800×600 resolution in full-screen. Check the bottom-right of the screen to see if the code has updated. If it has, congratulations!
You may understandably try to change the resolution to one of your liking. Start the game through steam and select the option ‘Launch Renegade Config’.
Alternatively, you can open WWConfig.exe through the game’s installation folder.
Use the slider to change your resolution, however two things to note here:
- If you choose a resolution >1080p, the Double HUD option is highly recommended.
- The game needs to be launched TWICE for the resolution changes to take effect!!!
The game also natively comes with a 200FPS frame limiter to avoid game breaking physics glitches.
If you want to lower the FPS further to the refresh rate of your monitor, enable VSync or run the game through your dedicated graphics card and enable your frame limiter settings from there.
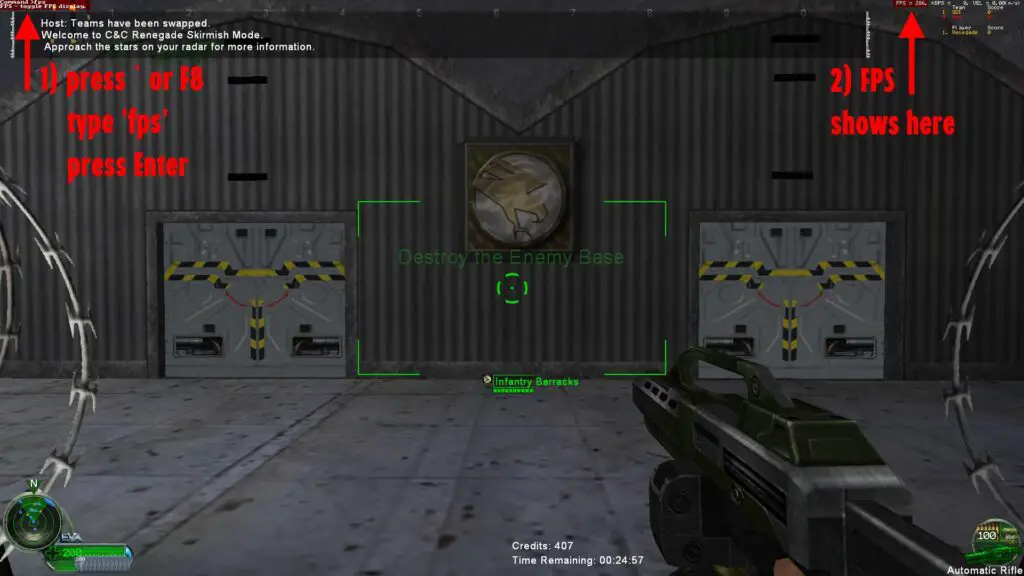
To check your in game frame rate, enter a map, and 1) press either the tilde OR F8 key, and then type ‘fps’, and then proceed to press Enter.
You won’t be able to move your cursor during this time. The FPS counter shows at 2) the top right of the screen.
Extra features worth mentioning
‘Botcount’ console command (Multiplayer practice or Multiplayer LAN servers only with a maximum player count of 1):
Want the Multiplayer experience, but you don’t want to deal with real players? Use this command to add bots to the map!
Type: ‘Botcount ‘, and then press enter
: 0 for Nod, 1 for GDI
: amount of bots to add, bots are evenly split if team is only one number is added to the command (i.e. team section is not filled in).
‘Spy’ console command (Multiplayer practice or Multiplayer LAN servers only with a maximum player count of 1):
Want to just explore all the multiplayer maps the game has to offer when the bots from the command above keep killing you? Enter ‘Spy 1’ (as your player ID in this case is 1) to make yourself invisible to bots, including base defenses!
‘Vis’ console command: Disables/Enables VIS culling. Enabled by default. Good if you want to prevent random sections of the map from un-rendering because you stood at a specific spot where VIS was not properly calculated.
Increases game’s performance usage if disabled.