Jagged Alliance 3: Modding Weapons & Difficulty Thresholds

In this JA3 guide, we’ll explain how to upgrade guns with mods and what the difficulty thresholds are based on Mechanical stat.
Please note that much of the information in this guide is based on anecdotal evidence and a lot of trial and error. I have not had the opportunity to go into the actual source code, but I am happy to make any corrections if more accurate information is discovered.

Jagged Alliance 3 allows you to upgrade and customize most of your guns with mods. As I previously mentioned in my article “JA3: The Dual Economy System of Jagged Alliance 3”, you can think of parts as a secondary currency that is used to buy weapon upgrades.
This article will explain what you need to install weapon mods, how to do so, and what the different mechanical thresholds are for the difficulty levels of various mods.
This article is NOT focused on explaining what the various mods do and which mods are best for various builds / mercs / guns. If you are looking for that information, the best guide I have found so far is Volodymyr Azimoff’s “Jagged Alliance 3 – Guns and Mods Guide” which can be found as Steam Guide “Guns ‘n’ Mods” by Rhapsody.
Requirements for Modding
A mercenary with a sufficiently high Mechanical stat. The Mr. Fixit perk helps with disarming traps, hacking devices, picking locks, and unjamming weapons. Based on the trait description, it does not seem to help with installing mods.
Parts. Each mod has a certain quantity of required parts. Also, you may need extra parts in case your attempt fails.
A moddable gun. Most guns have between 1–8 slots that can be modded. Heavy weapons (MGL, Mortar, RPG-7) cannot be modded. Unique weapons also cannot be modded — their fixed stats are designed so they are comparable to a modded weapon of that type.
Steel Pipe / Lenses / Chip. Some mods require an additional component. For example, all barrels, non-improvised suppressors, and grenade launchers require a steel pipe. Most scopes require either lenses or a chip. And most of the better sides require a chip.
How to Mod a Gun

1. Make sure that the gun that you want to mod and any components (steel pipe / lenses / chip) are in your inventory — sector stash is not sufficient.
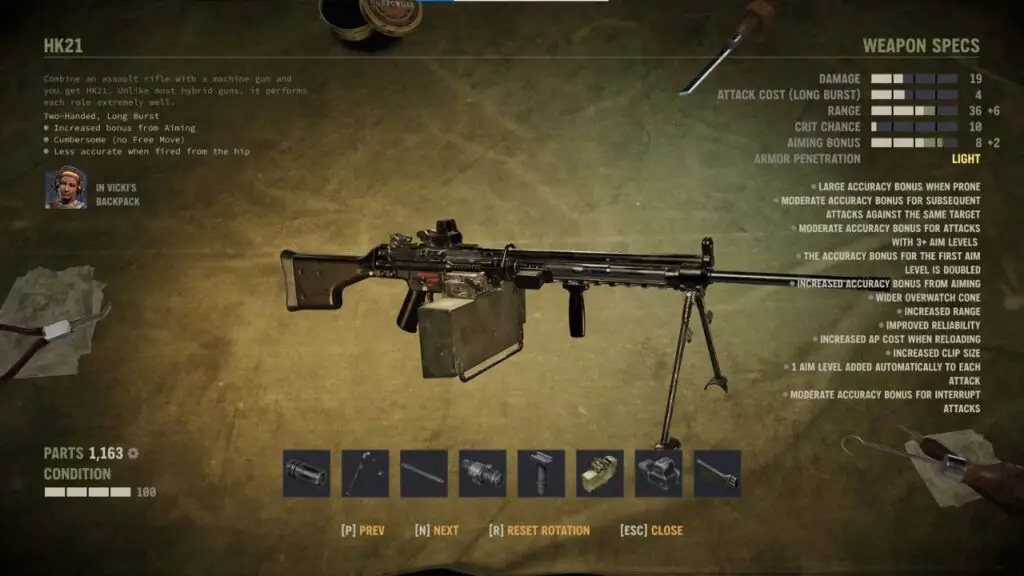
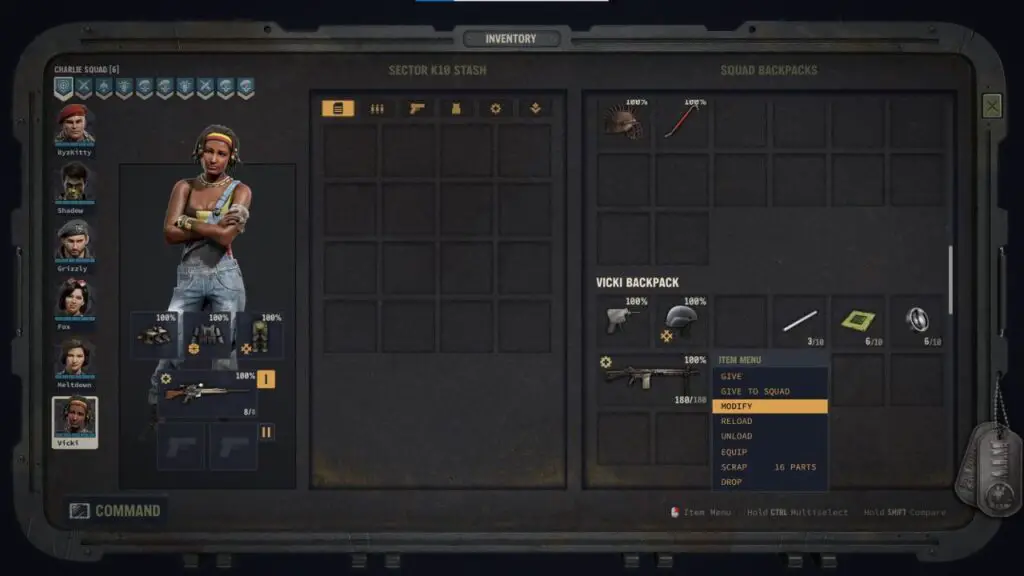
2. Right-click the gun and select “Modify.”

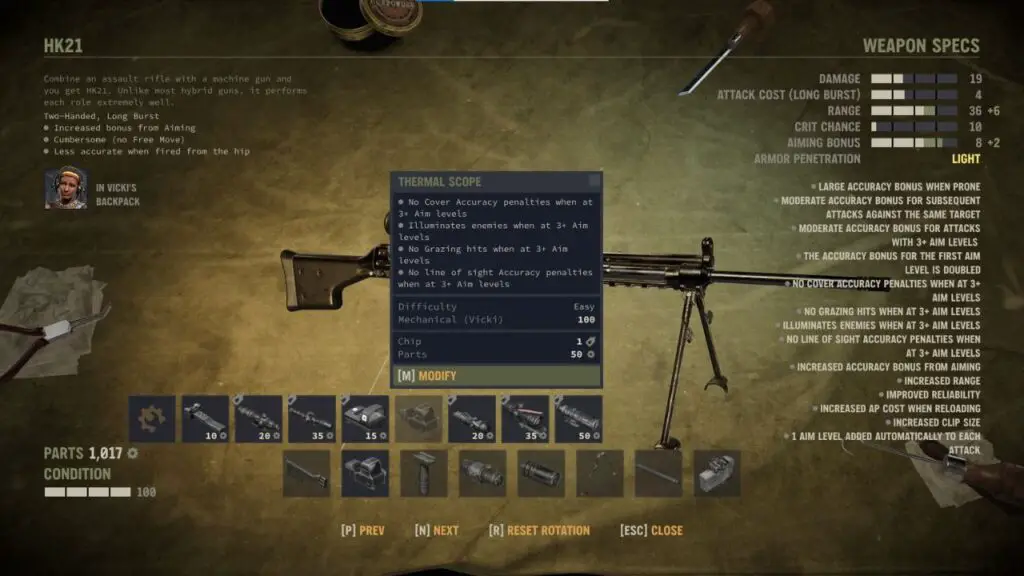
3. Select the slot type and choose which mod you want. The screen will tell you the difficulty level for installing that mod (don’t bother trying if the difficulty is “Impossible”). It automatically assumes that your best mechanic in that sector (even if in another squad) will be installing the mod — so it does not matter in which merc’s inventory the gun is. Select “Modify” to attempt to install the mod.
Please note that some mods are mutually exclusive. Vertical Grip is mutually exclusive with a Grenade Launcher. On the G36, both are in the same slot, so it is obvious that they are mutually exclusive. But on the AUG, they are in different slots, but you can’t have both of them at the same time. On a Glock, an Improvised Suppressor blocks any side mod, but that is not a problem on a Beretta.
If the gun modification is successful, then you will spend the stated amount of parts along with any steel pipe / lenses / chip.
If the gun modification is unsuccessful, then you lose the stated amount of parts and there is a chance that the gun can lose condition from the failed attempt. Although you will lose parts, a failed attempt does NOT consume any steel pipe / lenses / chip.
If a gun already has a mod, and then you install a different mod in that same slot, there is a random chance that a certain number of parts will be refunded. If you get a refund, it seems to be half (rounded up) the parts’ requirement of the newly installed mod.
The previous mod does not impact the number of parts that can be refunded. That does mean that you can theoretically save a small number of parts if you install a cheap mod first and then a more expensive one. But since you only have a chance at a refund, this is not a reliable way to save on parts.
Also note that replacing a mod does not allow you to recover any steel pipe / lenses / chips. Those can only be recovered if you completely scrap the gun. For more details on scrapping guns for components, please take a look at my article “JA3: The Complete Guide to Scrapping.”
If you are fine with repeated save scumming, then you just need a mercenary with sufficient Mechanical so that it is Hard to install the mod. If you fail, you can just reload. (You could try at Impossible, but it might not be worth the time).
If you have a more disciplined approach towards repeated loading (i.e. Iron Man mode), then you will want a mercenary with as high of a Mechanical stat as possible to try to bring difficulty down to Moderate or Easy. You will also want extra parts in case your attempt fails.
Difficulty Thresholds
Firstly, here is a list of all mercenaries with a starting Mechanical stat of 50+ (since 50 is the minimum needed to install mods beyond defaults and flashlights).
Although Mr. Fixit does not help with installing mods, I included the information since it may affect your overall choice of mechanic:
| Mercenary | Mechanical Stat | Mr. Fixit? |
| Vicki | 95 | No |
| Magic | 91 | No |
| Livewire | 85 | Yes |
| IMP Custom Merc | 85 Max | Selectable |
| Gus | 80 | No |
| Steroid | 76 | Yes |
| Kalyna | 67 | No |
| Wolf | 65 | No |
| Nails | 63 | No |
| Sully | 61 | No |
| Fauda | 61 | No |
| Len | 54 | No |
WHERE IS TREVOR?????
(That’s a joke about my favorite JA2 Aussie mechanic who is currently missing in JA3. He has 99 Mechanical in JA2.)
Here is a collapsed table (i.e. consolidating the 0-24 and 25-44 ranges) of the difficulty to install various mods for given Mechanical stat levels. This information can be invaluable since it lets you know which mercs can install the mods you want. Or you can determine how much you need to raise your Mechanical stat to before you can install your desired mods.

When you install a mod, you roll a Mechanical skill test. The game rolls a d100 and the result needs to be equal or less than your stat score to succeed. The roll is modified based on the difficulty level:
Impossible = +20 to the roll
Hard = +10
Moderate = 0
Easy = -10
Trivial = -25
(Thanks to rato for explaining how difficulty impacts the skill roll!)
- From Mechanical 0-24, any type of mod is Impossible.
- From Mechanical 25-49, the only mods you can do are flashlights and default barrels / magazines / muzzles. Flashlights are not that great because they also illuminate the user. And you normally are not going to be changing back to the default barrel / magazine / muzzle – the only time you might do it is if you made a mistake and that implies you already changed it to something different. Alternatively, if you have a stat training point in your pool, you could try a simpler mod to gain field experience and improve Mechanical. From this point forward, I won’t specifically mention if the difficulty of the flashlight or defaults decrease because you probably won’t be installing those mods.
- Thus useful mods really need a Mechanical of 50+. At this stage you have a chance (Hard) of installing barrels, magazines, muzzles, and scopes.
- At 60+ you can also install all other sides and the tactical grip at Hard difficulty.
- At 70+ you can install at Hard difficulty a bipod, other stocks beyond the default, and other underslings beyond tactical grip. It is also now only moderate difficulty to install barrels, magazines, muzzles, and scopes. At 70+, there is no mod that is Impossible.
- At 80+ it is only moderate difficulty to install sides and the tactical grip.
- At 90+ it becomes Easy to install barrels, magazines, muzzles, and scopes. And it is just moderate difficulty to install bipods, non-default stocks, and underslings such as vertical grip and grenade launcher.
- At 100 Mechanical, it is also Easy to install sides and the tactical grip.