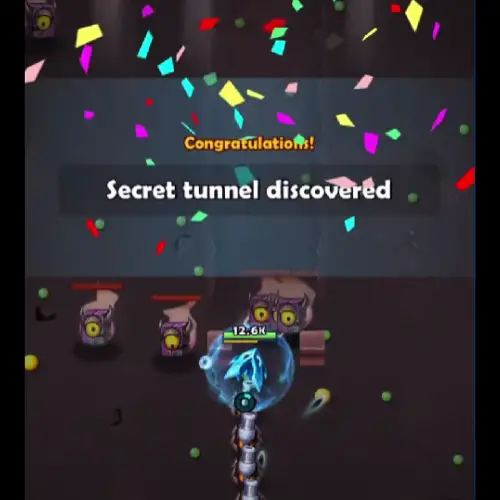
Hope you’re having a blast playing SSSnaker, an immensely popular game by Habby. I’m here to give you the ultimate lowdown on the most amazing feature of the game – all the SSSnaker Secret Tunnels Locations!
Not only do these Secret Tunnels offer an immense amount of fun during their exploration, but they also serve as a substantial boost to your score and can propel you to the topmost tier of the leaderboard.
So gear up and prepare for an adventure as I lead you to all of these hidden jewels.
SSSnaker Secret Tunnels Locations Guide
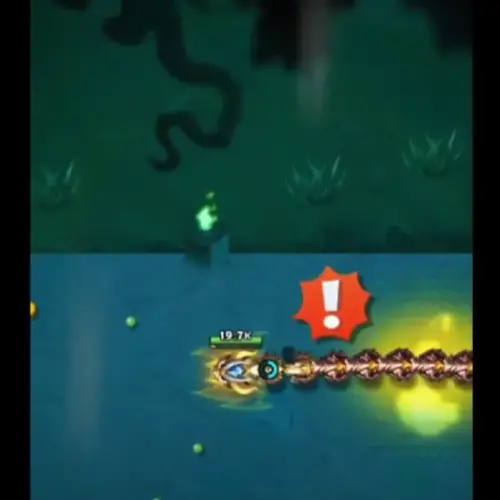
TRIAL 1 – Tranquil Forest
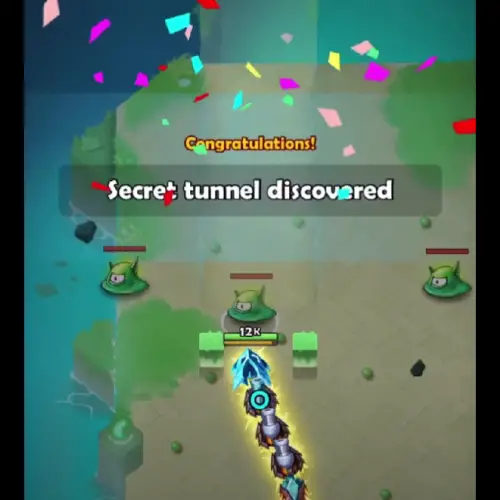
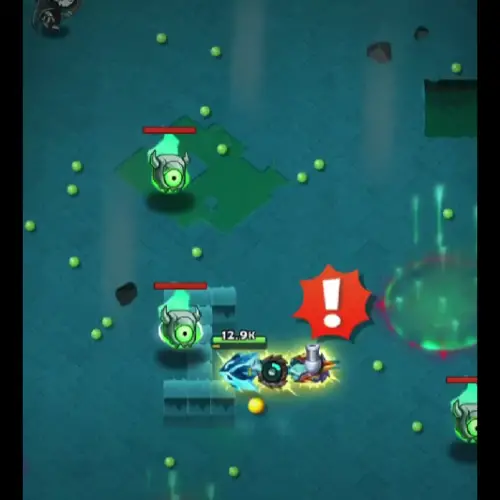
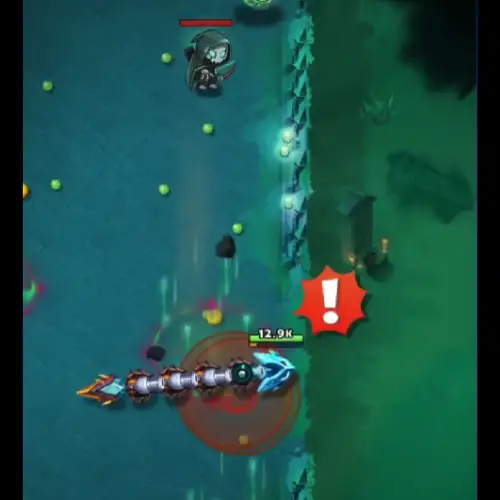
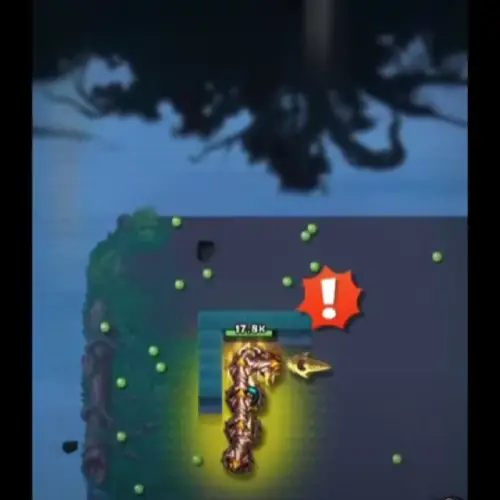
This is your first trial! When you arrive at the beginning point, turn left to find the first tunnel in Tranquil Forest. Simply hit the wall to pass through it; it’s really simple!
It might be more difficult to locate the second tunnel, but don’t worry; I’ve got you covered. There won’t be any walls to direct you this time. Instead, move closer to the grass and keep a watchful eye. The second tunnel’s entrance will shortly be visible.
TRIAL 2 – Lava Cave
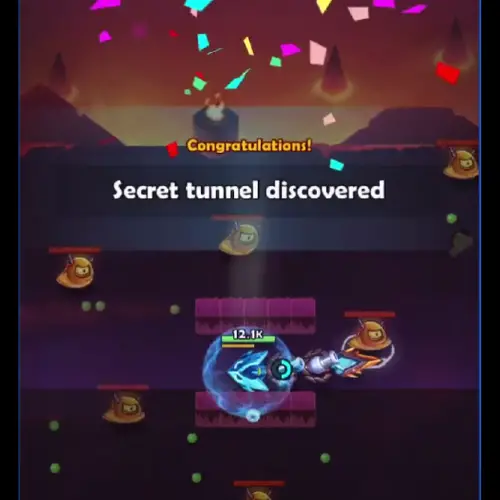
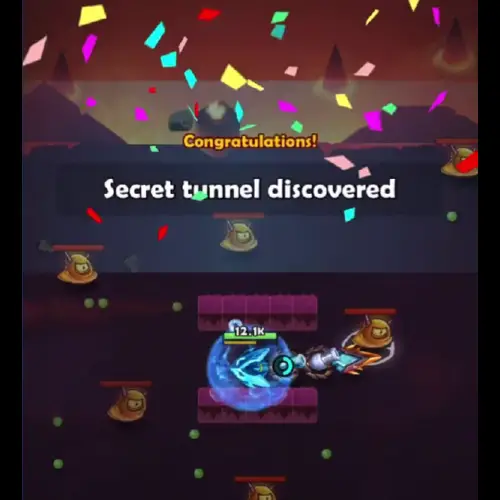
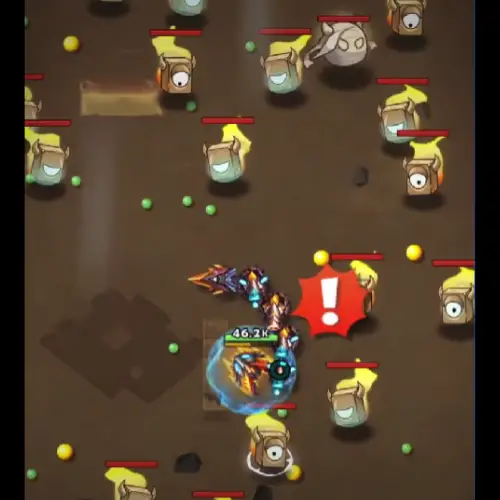
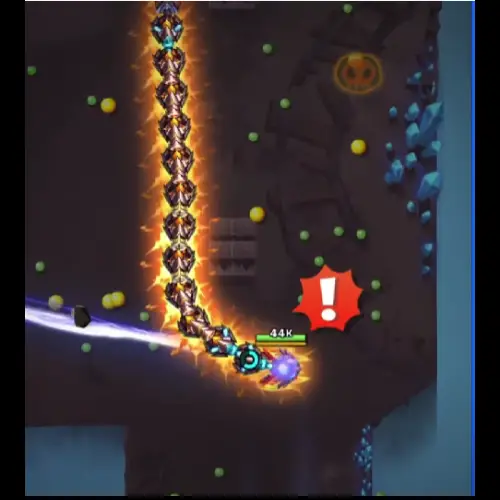
Finding the first tunnel in Lava Cave will be easy! You only need to hit the wall shown in the above image for it to become visible.

As for the second tunnel, it’s a bit trickier to access, but fear not! Simply walk alongside the wall indicated in the image and you’ll find your way in.
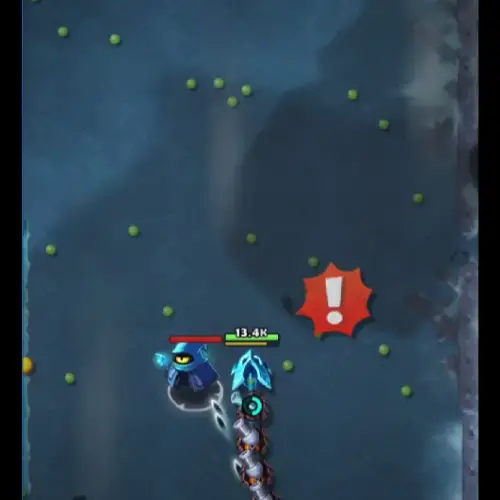
TRIAL 3 – Harsh Tundra
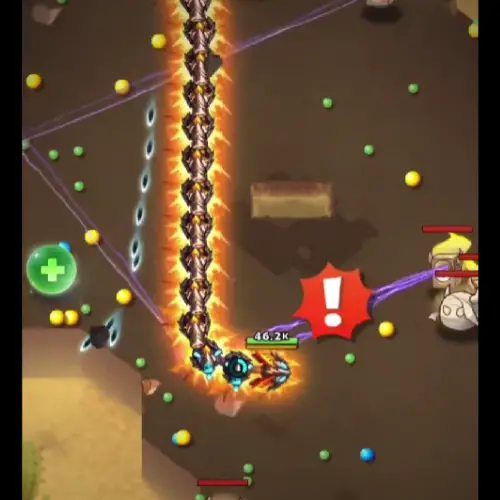
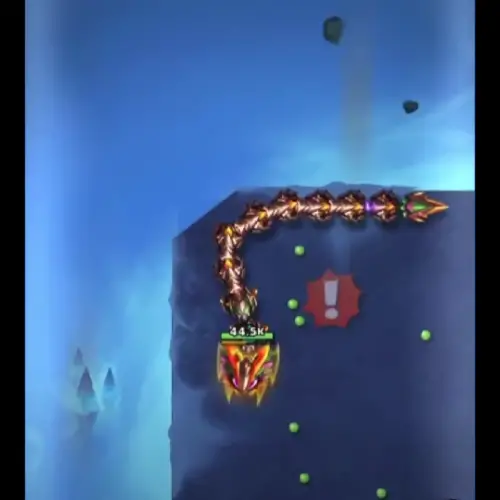
In order to find the first hidden tunnel, you must hit the stage’s left-hand wall that is formed like the letter “N,” as seen in the image above. Although it could appear to be a dead end, it is actually the tunnel’s entrance.
Finding the next tunnel is not too difficult. Head to the small island where the shooter enemies stand and push downwards to the south. You’ll come across the tunnel easily. See the image above for a better understanding.
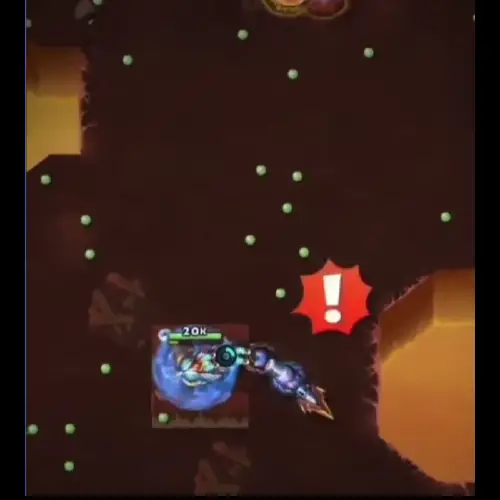
TRIAL 4 – Discarded Cave
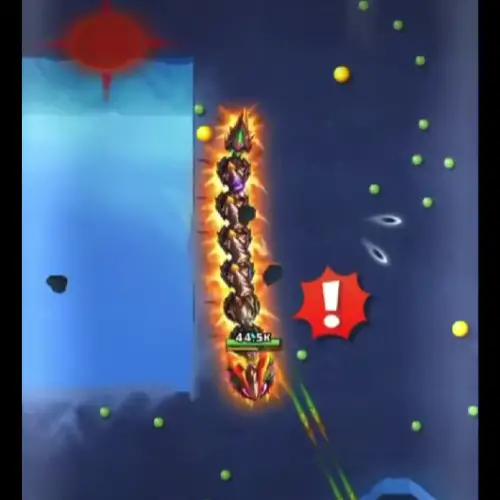
To locate the first tunnel, head up towards the wall shown in the picture. On the large, blue, right-side-up L-shaped wall, look for a little, beige, upside-down wall in the top-right corner. The first tunnel is located against this small beige wall.
You must go from the water to enter the second tunnel. Go inside the corner and turn right after spotting the enormous r-shaped wall. After that, continue moving to the right until you arrive at the tunnel entrance.
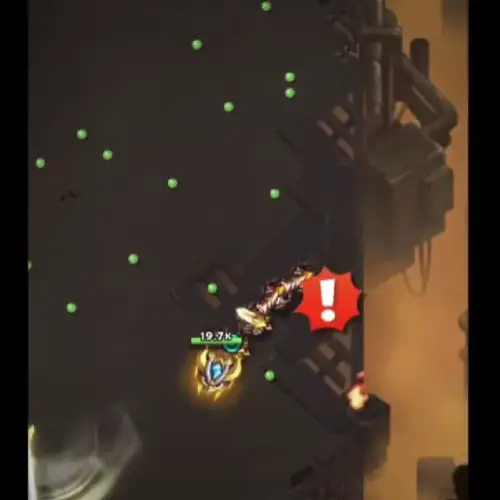
TRIAL 5 – Mechanical Ruin
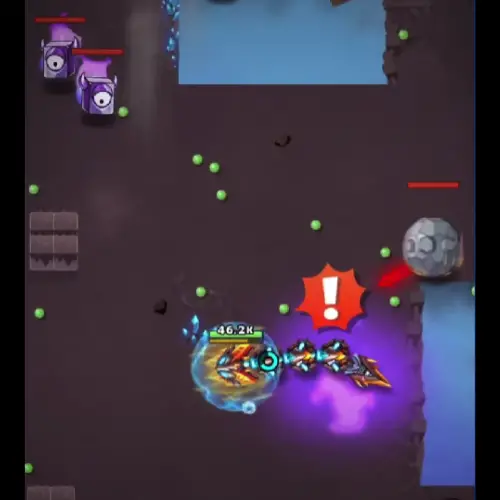
You’ll encounter the first tunnel in the next trial, which is right in front of you. All you have to do is slam into the wall that matches the letter “N.”
Entering the second tunnel could be difficult and might take you a few attempts. You need to go downwards and keep an eye out for a small wall as seen in the image above.
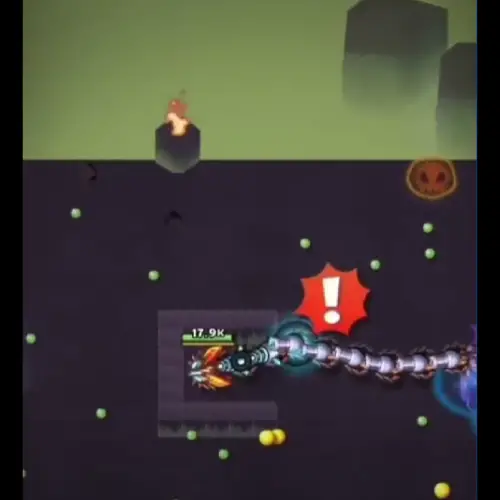
TRIAL 6 – Horror Cemetery
Go left and strike the wall that has the shape of the letter “I” to enter the first tunnel.
The second tunnel lies towards the canter right boundary on the right side of the stage. You can simply reach the tunnel because there is no fence in the path. See the image given above for reference.

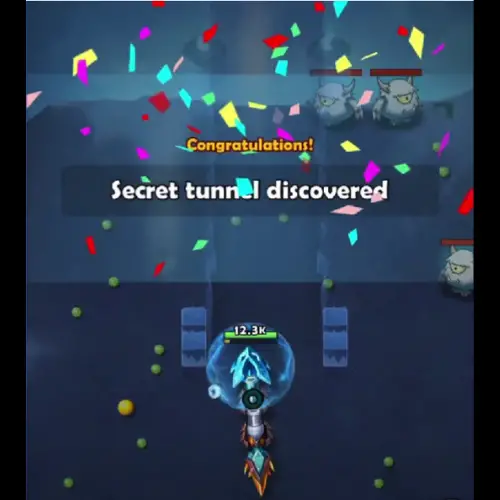
TRIAL 7 – Ice Field
To find the first tunnel in Ice Field, travel down the stage and pass through the little walls visible in the above image.
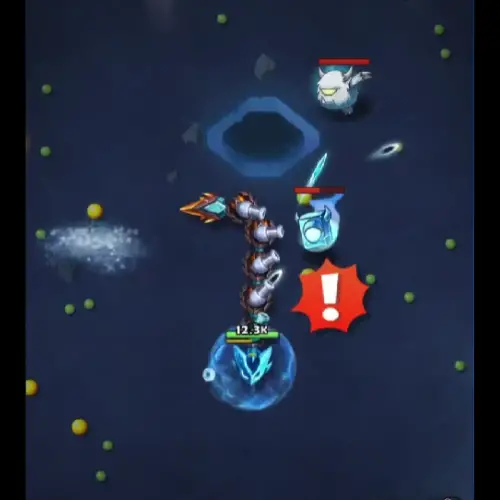
The second tunnel could be difficult to get into because there is no wall to indicate where it starts. You can find it by going up the stage about seven spaces to the right of the vertical gaps. Search for a small bit of water and walk between it and the map’s edge.
TRIAL 8 – Volcano Remnants
There’s a tunnel just next to you. Turn left and go towards the wall shaped like the letter “C” to enter the first tunnel.

The tunnel that follows this one is easy to find. Simply walk down and look for another wall that is like the one you just hit.
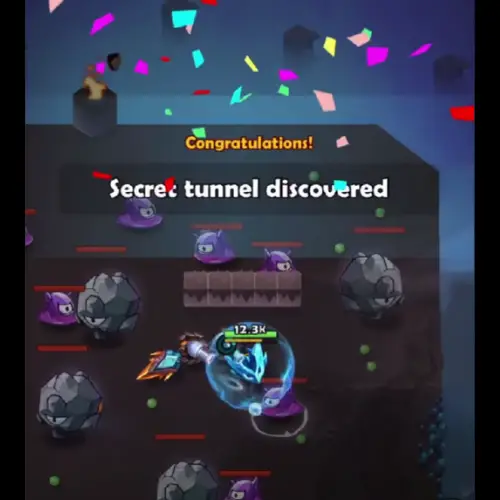
TRIAL 9 – Boulder Remains
To get into the first tunnel, walk down the stage until you see three lines shaped like the letter E. The first tunnel entrance will be right there.
The second tunnel in Boulder Remains is pretty simple to find; simply go to the wall shaped like the letter C as given in image above and you’ll find the entrance.

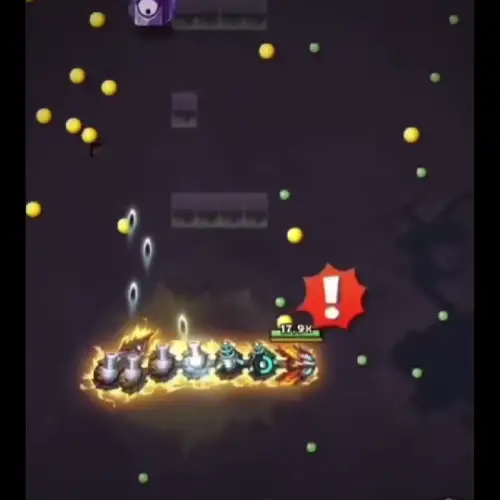
TRIAL 10 – Machine Shop
You have to head on over to the left side of the stage and give that n-shaped wall a good whack. That’s going to be your first tunnel right there!
To find the second tunnel, you got to press on the middle right part of the stage where there’s a V-shaped print and push towards the left near the flame.
TRIAL 11 – Secret Cemetery
To get into the first tunnel for this trail, head up and to the left of the upper area and just walk close to the flame. That should get you inside the tunnel.
The second tunnel is going to be a bit further down. You have to start walking from the water and squeeze yourself in between the fence. Once you’re there, push against the left side of the level that’s around the middle. The tunnel will be there.
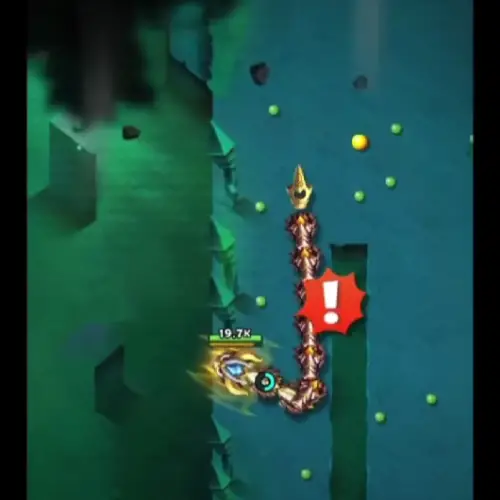
TRIAL 12 – Decaying Forest
As you approach the bridge in the canter of the stage, turn left at first. Once there, you’ll notice a point where you must descend to enter the first tunnel.
The second tunnel can be found by heading to the left and giving a good whack to the wall that’s shaped like an R. That’ll get you in.
TRIAL 13 – Arid Desert
To find the first tunnel, go towards the middle and look for a dark brown imprint on the stage. Push left against it and you’ll find the tunnel. There aren’t any walls around it.
The next tunnel could be a bit of a pain to get into. What you have to do is head down and take a left after about three blocks up and eight blocks to the right from the bottom left corner. When you approach, simply follow the edge as shown in the image above to find the entrance.
TRIAL 14 – Arctic Border
To get into the first tunnel in Arctic Border, just head on over to the right side and then make your way down to the bottom right corner of that huge off-limits square area.
The second tunnel can be found at the upper edge of the map. Walk to the right upper edge and then go down to enter this tunnel.
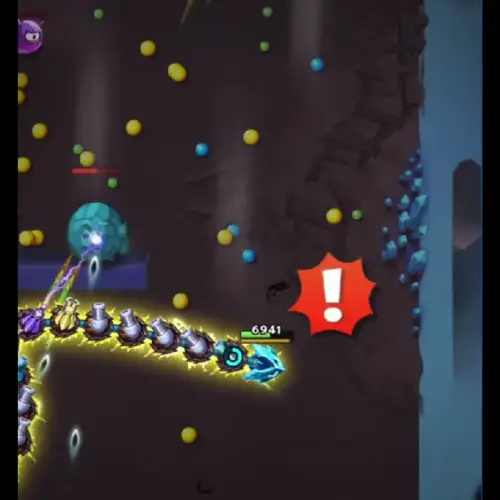
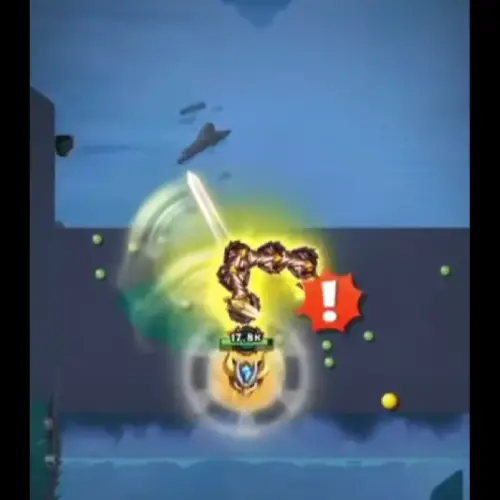
TRIAL 15 – Abyssal Cave
The first tunnel in Abyssal Cave is between the walls given in the image above. You just have to pass through them to find the entrance.
And the last tunnel you will find on the right side of the map.
Our SSSnaker Secret Tunnels Locations guide is now complete. We have explained the location of each tunnel, from Tranquil Forest to Decaying Metropolis, with tips and images to help you along the way.