
Yuel is a mobile character in the new Granblue Fantasy Versus Rising game who can control the midrange by using her speed and her access to long reach.
Once in the corner she can both pin someone down and prevent them from getting out as well as use a variety of strings involving her normals and her stance to put on pressure.
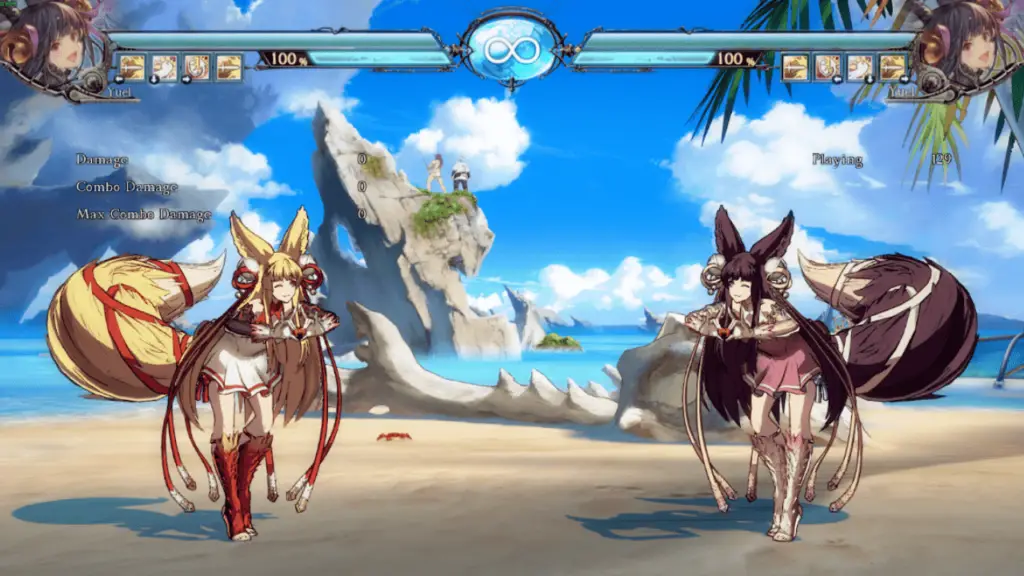
Yuel Guide (Pros and Cons)
Pros
Excellent Movement: Yuel sports great walk speed, dash speed, and multiple unique movement options such as her Hanaarashi backstep and her j.U, allowing her to remain evasive and close the distance on the opponent in unique ways.
Oppressive Pressure: Yuel sports strong offensive specials such as Foxflame, and can transition into and out of her Third Dance stance to maintain pressure on the opponent with numerous moves.
Great Neutral Game: With f.5M, 2M, L Starlit Sky, amongst others Yuel boasts several safe, forward-moving attacks that can be used to poke or whiff and punish the opponent very easily in the mid-range.
Good disadvantage: With a poke that can prevent her from getting spacing trapped to having access to two frame 1 reversals she has more options when knocked down than most characters.
Cons
Low Overall Damage: Yuel has only one consistent corner combo starter (H Starlit Sky) which leads to relatively mediocre damage in the corner unless 2H can be linked afterwards. In general, her damage from most hits is below average.
Stance: Yuel’s Third Dance stance has limited access to plus frames or anything to force her turn besides s5L, which leads to very poor damage. As such, the stance is often more of a get-in, get-out type of deal or can be used to force mind games, but she often takes more damage if she’s wrong.
f.5M Punishable: After nerfs Yuel’s f.5M is punishable unless cancelled with a special such as 236L. It is crucial to be aware of spacing when using this move.
Yuel Combos Guide
Crouching and Counterhit Links
As with any character, it is important to be aware of conditions that allow for certain things to combo, the most common ones being crouching and counter hits but there are also situations such as meaties that can change this.
In general, if something works on a crouching opponent, it will also work on a counter hit. Some things only work on crouching counter hits.
1) 2L > 2M
Crouching hit confirm. Comes in handy for when strings like 2L > 2L > f5L would whiff.
2) f5L > 2M
Counter hit confirm. c5L > 2L > f5L > 2M is a common string of frame traps, so the fact that the last two hits will also combo if the opponent did get frametrapped makes it a very nice hit confirm.
3) c5H > 22H
Crouching hit confirm. This combo allows Yuel to seek out more damage off a counter-hit universal overhead since UOH forces crouch. The following combo is possible:
ch.UOH > c5H > 22H > c5M > ender / 236H > wall bounce route, allowing her to deal upwards of ~5.8k damage. 22H > c5M is also a crouching hit confirm combo so that’s why it works here.
4) 22L > f5L
Crouching counter hit confirm. 22L > c5L works on regular counter hits but it’s rare to get that spacing. Niche confirm but sometimes you’ll want to frame trap into 22L. For example, if you cancel certain normal frame traps into 22L with 5U, your opponent will maybe want to challenge low, if they do and get frame trapped by 22L you’ll have an f5L combo.
5) 22L+5U > s5L
Counter hit confirm. When going for a 22L frame trap, as mentioned above if you get a crouching counter hit you can link into f5L, but if you get a standing counter hit you can go into stance and combo into s5L > s5L > s2L. Don’t do this if you can get f5L instead 99% of the time.
6) s2M > s2H
Counter hit confirm. Does not work from a good amount of ranges and can be tricky to hit confirm since s2H is very negative on block, but it’s a hit confirm off s2M that lets you combo even if you want to stay instance.
7) s2M > c5H
Counter hit confirm. Easier and safer to go for if you’re not hit confirming the s2M than s2H, but s2H works from a slightly further range.
8) s2M > f5M
Crouching hit confirm only. This extremely strong follow-up off s2M since it works from a multitude of ranges, on block s2M is +2 so 7f f5Ms will only clash with it at worst.
9) s5M > s2H
Counter hit confirm. Similar to s2M > s2H, it yields quite great damage when near the corner. A route with this can look like ch. s5M > s2h > c5M > 236H > 2H > 22H > c5h > ender.
10) s5M > c5H
Counter hit confirm. Your other very strong follow-up off of counter hit s5M, you need to press 5U during the s5M animation. Since s5M force crouching, you can do a route like that of UOH: ch. s5M+5U> c5H > 22H > c5M >ender or 236H into wallbounce route, for the wallbounce remember you won’t have foxflame available.
11) s2L > s5L > s5L >s2L
Counter hit confirm. Rare but good to know, a counter hit s2L, which frame traps off s5L, will combo into s5L > s5L > s2L.
Midscreen Combos/Hitconfirms
When landing a hit midscreen your goal most of the time will be to land a 236M as it provides good corner carry and decent oki.
If 236H would yield a wall bounce, especially a far from the wall wall bounce then that would be much higher damage. Lights don’t combo into 236M and therefore require 236L.
1) 2L > f5L > 236L
A common string of double lows. Yuel’s 2L has great range and when combined with her walk and dash speed this is a great way to try to apply pressure that might catch people walking. On block it also lets you access common blockstrings(see pressure/oki).
2) 2U > 236L
2U is larger than 2L, so it is more likely to catch people walking, but it’s more committal on whiff and not as good on block.
You could try 2U > 236M but unless you hit confirm it you will be left punishable on the block and if you’re slow on your hit confirm they’ll land and your 236M will whiff since sweep puts the opponent airborne 236L will soft knockdown anyways so 236M just nets you a bit more distance.
3) f5M > 236M
f5M is a baby’s first hit-confirm move, making cancelling into 236M very easy. f5M on the block is a mind game detailed further down in Strategy.
4) f5H > 236M
Heavies are simple to hit confirm so this one is not very demanding either.
5) 2M > 236M
This one is a harder hit confirm to do. There’s no shame in going for 2M > 236L instead unless you’re very confident in your hit confirm.
6) c5LLL > 236M
If you land an auto combo you should use 236M.
7) 2L > 2M > 236M
2L > 2M works on crouchers, allowing for a simpler hit confirm
!! None of these mention SBA / SSBA. Comboing into super midrange has a lot of merits.
If it’s going to get you the win, you should link into SBA / SSBA, that one is a no-brainer but keep in mind that hit confirming 2M into SBA / SSBA can be tricky.
Also occasionally f5M will not combo into SSBA for they might be too far. Other reasons to combo into super midscreen rather than using it during a big corner combo include not burning 236H but still getting big damage.
If one midscreen confirms into super plus a normal corner combo will kill, perhaps it’s best to burn super now. Do keep in mind that SBA is a very strong tool to have especially later in the game as it can be used in reaction to a projectile to seal the deal.
This limits your opponent’s options a lot if they happen to be a character with a projectile.
In the end, when or when to not use your super has many variables and it’s a decision that changes from scenario to scenario and player to player.
But Yuel did get a nerf to her SSBA damage because random f5m SSBA was considered too good, that’s all I’m saying.
Stance combos

If you take a quick look at the frame data of Yuel in stance you’ll see that none of her moves are actually plus besides s2M, which has 10 frames of start up and it’s just as plus as her regular 2L.
The main things that combo while in stance are certain counter hits and short strings involving her lights. The counter-hit links have been described in the first section of the combo book so you can go up there to read more about it as this will just have the full conversions.
1) s5L > s5L > s2L
Your go to confirm when in stance. You can cancel certain strings into stance and press s5L as a frame trap, you can also press s5L after s5M, which is 0 on the block and since s5L is a 5f button that crushes close lights because of its higher priority you will frame trap people with it.
2) s2M > s5L > s5L > s2L
s2M is +6 on hit and a low so if it clips anyone it can combo into s5L if they’re in range.
3) s2M+5U > 2L
As s2L is +6 it will link into 2L on hit, from there you can follow up with 236L or 236H if you want to transition into a wall bounce.
4) s5M > s5L > s5L > s2L
Simple link and you can follow up with s5L s5L s2L.
5) s5M+5U > c5L
Rare, but it does combo, from there go into any route off lights from the midscreen or corner section.
6) ch. s2M > s2H > c5M
One of the ways to combo into Yugetsu. Unfortunately, you can’t pick up with a c5H. Midscreen you will want to just combo into 236M, you can’t do much of auto combo at all or 236M will drop.
Near the wall, you can go for ch. s2M > s2H > c5M > 236H > 2H > 22H > c5H > ender. If you do the 22H+5U > s2H extra, you will hit the combo limit right on your c5H so you might not get great oki.
You might be able to do s2H > SBA / SSBA, it works in other routes but I believe the s2H hits too low to do this here. Or maybe It’s just hard, regardless of the damage difference is likely non-existent.
7) ch. s2H+5U > c5H
Easier to go into since on block it’s tricky to challenge (5f button only and some ranges give the opponent f5L and you still get c5H making it impossible to mash against).
Since s5M forces crouching on hit you get the UOH route detailed in combo 3 of the first section of combos, but with ch. s2H as a starter: ch. s2H > c5H > 236H > wall bounce route of choice
8) ch. s5M > s2H
The other way to combo into s2H. The routes are the same as ch. s2M > s2H.
9) ch. s5M+5U > c5H
The similar routes as ch. s2M > c5H, but accessed off s5M. Since s5M is 0 on the block this can be challenged and you might need to condition the opponent with s5M s5L on the block if you want to be able to go for this without hit confirming the ch. s5M, it does have a lot of stun though so hit confirming is not a tall task.
You can get a bit more damage on this one since s5M forces crouch, which means you can c5H > 22H as an extension.
That’s all for this Granblue Fantasy Versus Rising Yuel Combos guide. Check out the new posts below:
Granblue Fantasy Versus Rising Beginner’s Guide | Granblue Fantasy Versus Rising tier list | Granblue Fantasy Versus Rising Gran Guide | Granblue Fantasy Versus Rising Ferry Guide | Granblue Fantasy Versus Rising Katalina Guide | Granblue Fantasy Versus Rising Metera Guide | Granblue Fantasy Versus Rising Lancelot Guide | Granblue Fantasy Versus Rising Percival Guide | Granblue Fantasy Versus Rising Cagliostro Guide | Granblue Fantasy Versus Rising Zeta Guide | Granblue Fantasy Versus Rising Lowain Guide | Granblue Fantasy Versus Rising Graphics Fix